Memories are an important part of our lives. Every person is attached to some memories in some way. Memories will stay with a person forever, but how those memories are saved can be a major concern. Your priceless family recollections can be stored on videotapes for a number of years when they are preserved in a cool, dry location.
However, after time, these formats degrade, and the cassettes become unplayable. The situation can become even worse when you do not have any working machines to play the home videos on. This is why the digitization of home videos and recordings becomes important.
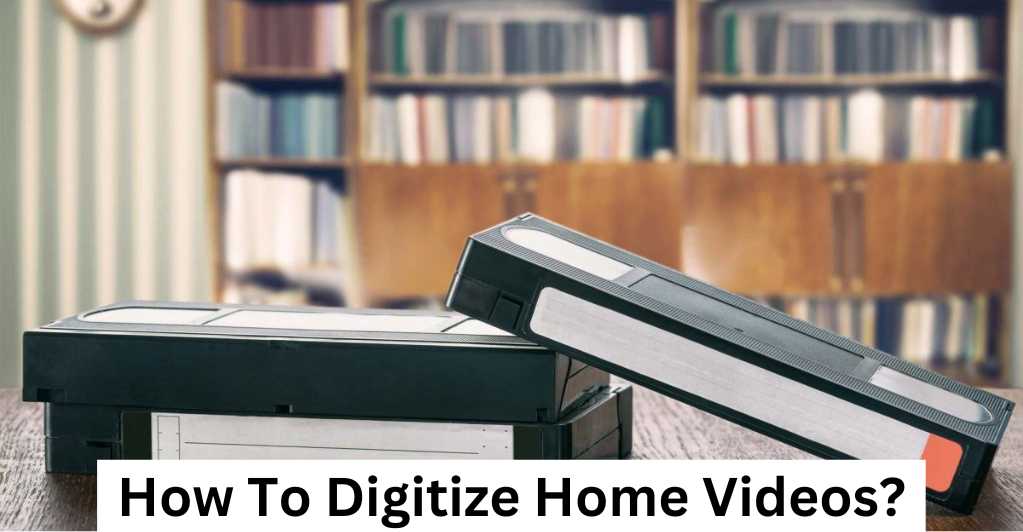
However, the advancement in technology has made the task less difficult than it used to be. There are various methods that can help you digitize the home videos easily and in a professional manner. Also, you can seek professional help for digitizing fragile or age-old films and videos. Read on to learn more about the necessity and various methods of digitizing old home videos. Let us dive in to explore more: How To Digitize Home Videos?
Why Should I Digitize Old Tapes and Videos?
Well, the major reason to digitize old tapes and videos is to prevent them from getting damaged and remove them from an obsolete format. Though the reasons could vary from individual to individual, major reasons remain common for all. Here are some important reasons why digitizing old videos and tapes is a necessity:
- Digitized tapes, films, and videos are amazing options for preserving priceless memories and recollections. They will be shielded from harm and deterioration as a result.
- Any home video that has faded or been damaged is capable of being instantly fixed by software. Both the color and the structure of a film can be altered, letting you keep the old memories intact.
- The digital recollections can be shared on social networking platforms like Facebook or used to make a new movie that can be seen with loved ones and includes music, storytelling, and graphical transitions.
- The preserved memories can be a gift for you and the next generation as well. Your films can be viewed even when you are gone once they are stored on a cloud platform, computer, or disc. The upcoming generations will be able to see all the valuable recollections if they have easy access to them.
- Digital films can also be duplicated with ease. This will allow sharing with other family members and will also be backed up for the future. In case you lose any one of them, you will have a backup of that film and even photographs.
- You may organize and explore the new documents on your computer, cloud service, mobile device, or tablet by using tags and keywords. This will put all your videotapes in an organized manner, making it easy to get the one you want.
Some Unique Methods To Digitize Home Videos
If you are also looking to convert your home videos into a digital format, then there are several options to choose from. Let’s look at a few of the more beneficial ones.
Transfer It To Your Computer: If your goal is to transform your analog tapes into digital files, opting for a video-capture device is a smart move. This handy tool enables you to seamlessly connect your tape player directly to your computer, facilitating the conversion of your cherished movies into a digital format.
This approach eliminates the need for critical equipment and simplifies the process by employing a straightforward adapter to link your tape player to your computer through USB or VGA ports. This setup allows your tape to play while efficiently transferring the data into a digital format.
There is a wide availability of adapters, with prices ranging from about $50 to several hundred dollars. In order to make sure it accomplishes the job properly, be careful to study the reviews. The majority of adapters include software that lets you save your files in whatever format you want or perhaps burn them to a DVD later.
Use A DVD Recorder: If your aim is to digitize your collection of home movies while preserving a physical copy like a DVD, opting for a DVD recorder is an excellent strategy. DVD recorders can be seamlessly connected to a tape player, facilitating the conversion of analog footage into a digital format stored on a DVD.
This process not only digitizes your movies but also grants you the flexibility to enjoy them on both a DVD player and your computer. One potential challenge when considering a DVD recorder is the availability of new models, which can be scarce. However, when you have old ones, you will definitely not need to make a new purchase. All you have to do is get a used one, and all your work will be done.
Do Recording Again: Do you have a home theatre or a projector? If yes, then converting home videos into digital format can be done without making any investments. To transform your movie into a digital format without the need for additional investments, consider projecting it onto a projection screen or a clean sheet.
Position this image within the full view of another video camera and start recording. Subsequently, transfer your recording to a computer and create a fresh digital copy.
It is important to note that this method, although budget-friendly, is primarily suited for recreational purposes rather than achieving high-quality results. If you happen to possess a projector for old film reels, you can embark on this enjoyable process without incurring additional costs. Nevertheless, managing your expectations is key, as it may not yield a top-notch digital image.
Hire Professionals: If you do not want to delve into research, you can opt to hire professional services. In other words, if you find yourself strapped for time to delve into the difficulties of optimizing your conversion process or simply wish to avoid the risk of producing subpar outcomes, your optimal solution lies in engaging the services of a professional VHS digital conversion provider.
In today’s digital world, several reputable companies specialize in this domain, equipped with cutting-edge technology to transform your cherished home videos into pristine digital formats. This transformation guarantees the preservation of every intricate detail, maintaining the authenticity of the original content.
Converting analogue media to digital is not merely about possessing the finest software and equipment; it also depends on a profound understanding of troubleshooting issues and evaluating the effects of deterioration in video quality.
Transform Video Directly From The Film: If you are faced with a collection of 8mm film reels, a film-to-video converter could be your ideal solution. This convenient tool allows you to simply load your film reels into the machine and have the footage seamlessly copied onto a digital memory card.
While the cost of the appropriate equipment can range from $300 to $1,000, it is a worthwhile investment, especially if you possess a substantial collection of these invaluable memories that you are eager to preserve.
Also Read: Things That You Can Do With Old VHS Tapes
Things To Consider When Digitizing Home Videos
While you are digitizing your home videos, you should keep several things in mind. This is important because of the efficiency and quality of the conversion of home videos into digital format. The following are some of them:
- Firstly, it is essential to assess the state of the original tapes or films. Check for any physical damage and consider cleaning or repairing them before digitization.
- Choosing the right equipment is extremely crucial. Invest in a good-quality VCR or film scanner, a compatible capture card, and reliable video editing software. Ensure that all equipment is used solely for legal and ethical purposes.
- Select an appropriate format and resolution for digitization. Common digital video formats include MP4, AVI, or MOV, and the resolution should balance quality with storage space.
- Prioritize the organization and documentation of your digitized videos. Create a system for naming and categorizing files, and include essential information such as dates, locations, and individuals involved. This metadata is invaluable for future reference and retrieval. This will make access even easier and faster.
- If you want to safeguard your digital material, think about storage and backup options. In order to prevent data loss, routinely back up your information using external hard drives or cloud storage services.
- At last, respect copyright laws and privacy when sharing or distributing digitized videos. Obtain permissions if necessary, and be cautious about posting personal content online.
Sending Media To Professional Digitizing Service
Sending media to a professional digitizing service is a great way to preserve and transform your physical photos, videos, audio recordings, and other memorabilia into digital formats. This process helps ensure that your cherished memories are not lost due to deterioration or damage over time. Here’s a step-by-step guide on how to send your media to a professional digitizing service:
1. Choose a Reputable Digitizing Service:
Research and select a reputable digitizing service that specializes in the type of media you want to digitize. Look for reviews, testimonials, and examples of their work to ensure they meet your quality standards.
2. Contact the Service:
Reach out to the chosen digitizing service through their website, email, or phone. Inquire about their process, pricing, turnaround time, and any specific requirements they have for sending media.
3. Prepare Your Media:
Organize and prepare your physical media for shipping. This may include photographs, slides, negatives, audio cassettes, VHS tapes, film reels, and more. Label each item if necessary.
4. Packaging:
Safely package your media to prevent damage during transit. Use appropriate boxes, envelopes, or protective cases. Consider using bubble wrap, foam, or padding to ensure your items are secure.
5. Fill Out Forms:
Most digitizing services will provide you with forms to fill out. These forms may include details about your order, your contact information, and any special instructions. Complete these forms accurately.
6. Shipping:
Choose a reliable shipping method with tracking and insurance. This helps ensure that your media arrives safely at the digitizing service’s location. Follow any specific shipping instructions provided by the service.
7. Notify the Service:
Once you’ve shipped your media, notify the digitizing service. Provide them with the tracking number and any relevant information so they can expect your package.
8. Await Confirmation:
The digitizing service will confirm the receipt of your package. They may inspect your media to ensure it matches the information you provided.
9. Digitization Process:
The professionals at the service will carefully digitize your media using specialized equipment. This may involve scanning photos, converting tapes to digital files, or transferring film reels to digital formats.
10. Review and Approval:
Once digitization is complete, the service may provide you with digital samples for your review. Review the samples to ensure they meet your expectations. Provide feedback if necessary.
11. Delivery of Digital Files:
Once you approve the digital samples, the service will typically provide you with a link to download the digitized files. These files can then be stored on your computer, cloud storage, or external hard drives.
12. Return of Physical Media (if applicable):
If you opted to have your physical media returned, the service will package and ship them back to you using the method you chose.
13. Backup Your Files:
After receiving your digitized files, make sure to back them up on multiple devices or storage locations to prevent loss.
Wrapping Up
To conclude, if your recollections from your films and videotapes are fading, they could be restored efficiently. They will eventually stop functioning altogether. The magnetic tape can be stored for ten to thirty years until it starts to deteriorate, while certain films endure for about fifty years with careful storage.
Additionally, there is still time to preserve the majority of one’s family’s legacy, so you are not obligated to miss out on the past. Avoid waiting until you convert your old analog movies to digital if you are planning to do it yourself or use a professional service.
Also Read: How To Convert Slides To Digital?
FAQs: How To Digitize Home Videos?
Q1. Why Should I Digitize My Home Videos?
Ans. Digitizing home videos helps preserve precious memories from aging and deterioration. It also allows for easy sharing, editing, and storage in digital formats.
Q2. What Equipment Do I Need To Digitize My Home Videos?
Ans. You will need a video capture device (like a video capture card or a digital camcorder with video-to-computer capabilities), a computer, and video editing software. Additional equipment depends on the needs and requirements of the users. Professional service providers have multiple pieces of equipment so that they can make any sort of video conversion easily and with high quality.